|
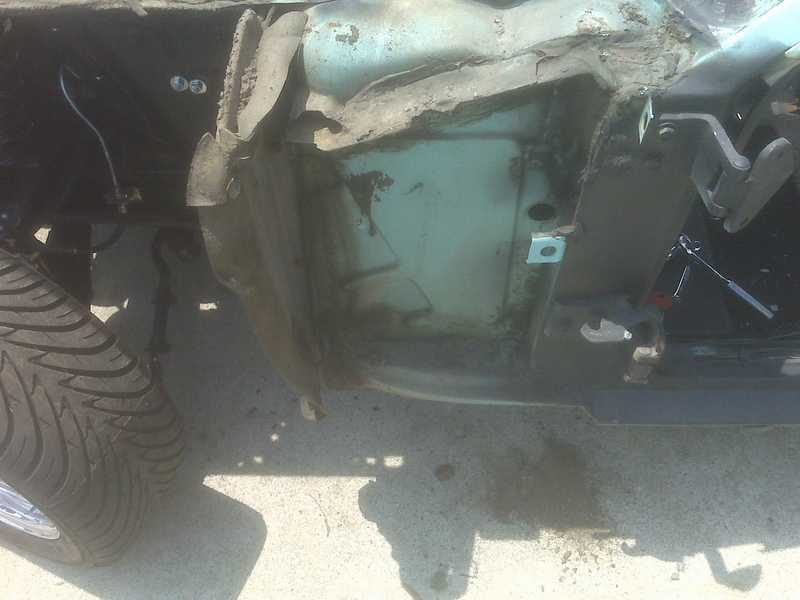
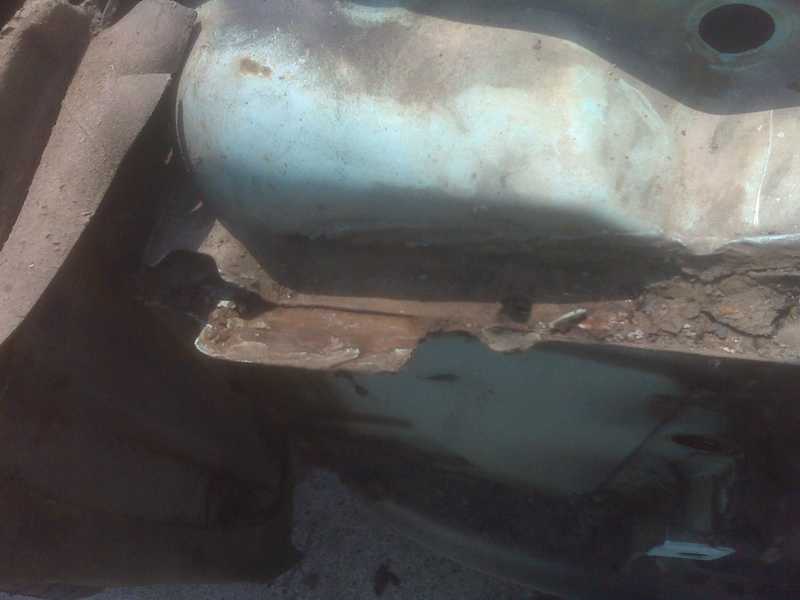
Drain hole is open, no rust on side apron. Ford
applied lots of seam sealer on the top of metal
joints to prevent rust.

The access hole from behind the kickpanel to get
to the "hidden" nut holding the fender on.
We tried to drill out the spot welds but found it
was a pain to break the metal loose.
Vacuumed out the area.
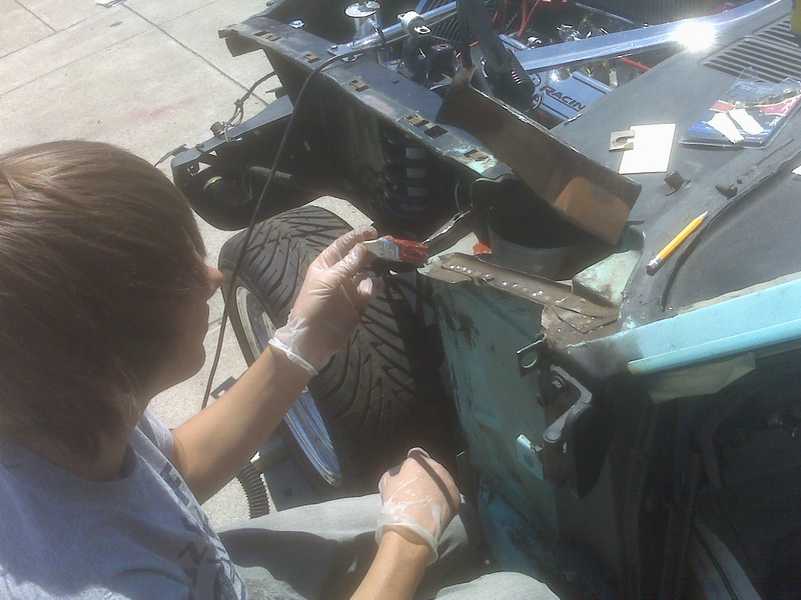
Christopher applying Eastwood Rust Encapsilator.
We cut the brush handle to make painting easier.
Finished and drying
Passenger side done

 |
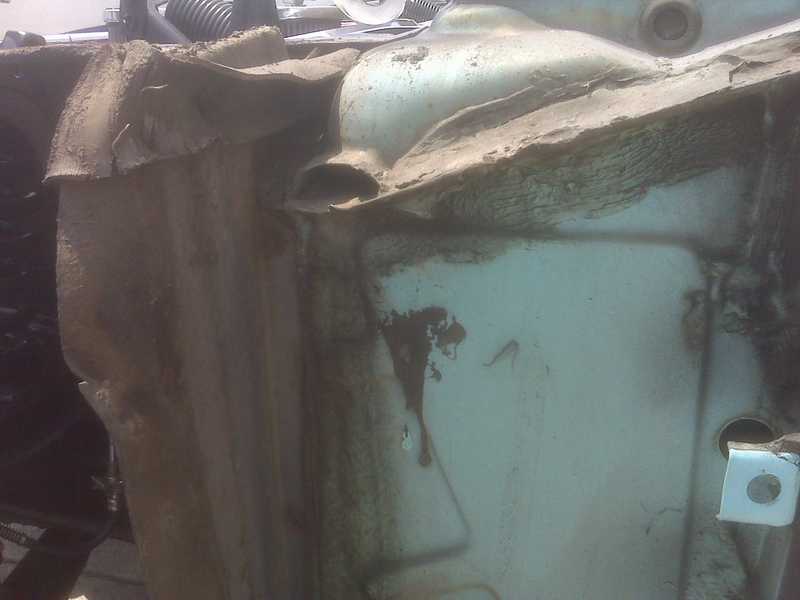
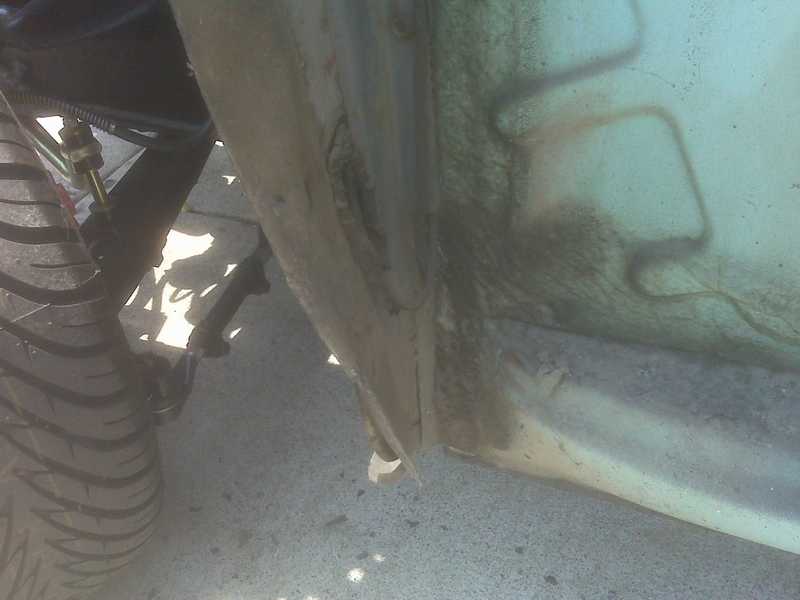
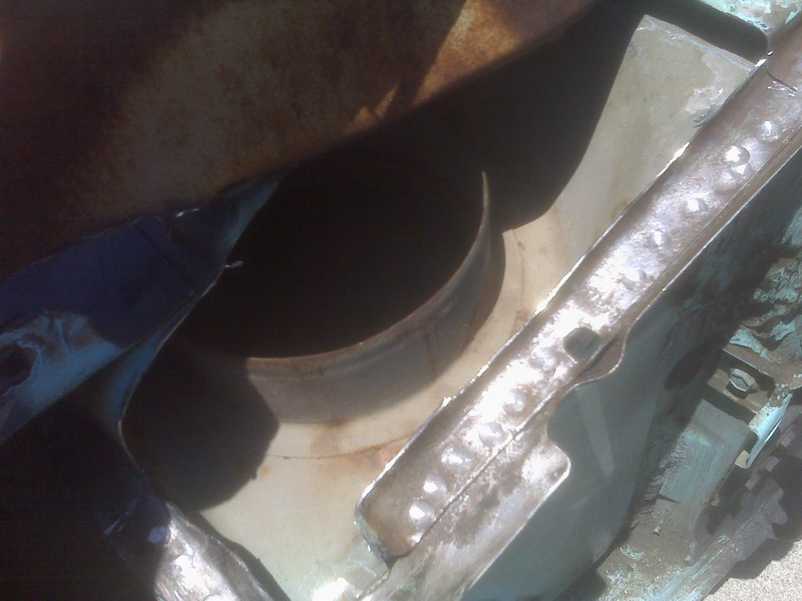
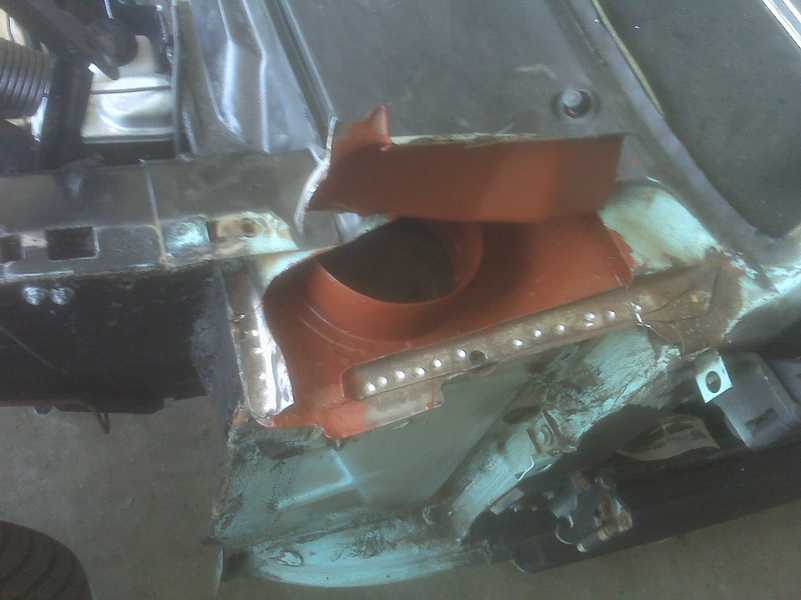
Side view of how thickness of the seam seal from the factory
Seam seal was removed and there was only minor surface
rust on metal
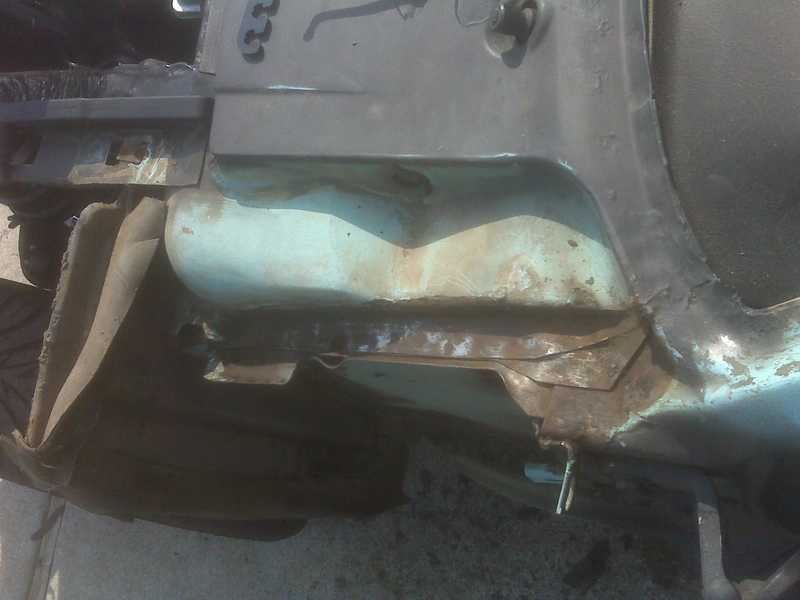
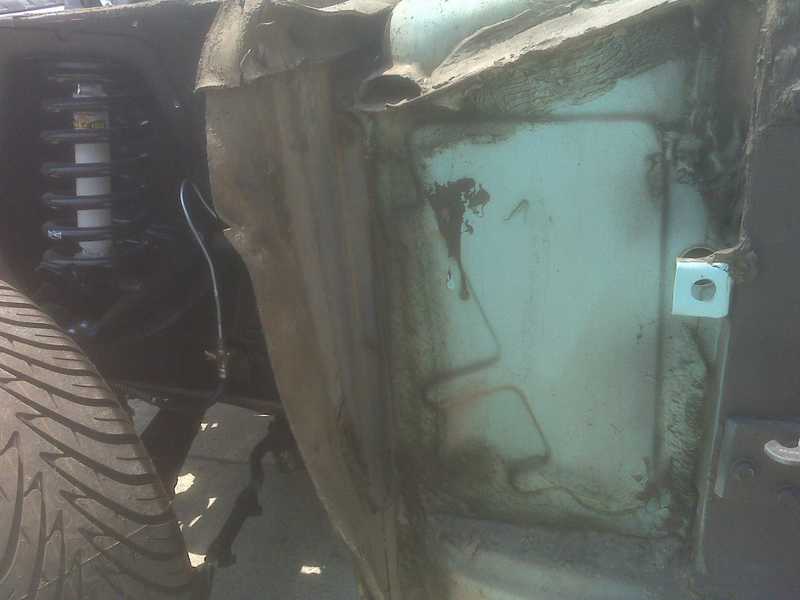
Decided to cut the metal on the sides and bend up the end cap. Only minor surface rust and dirt.
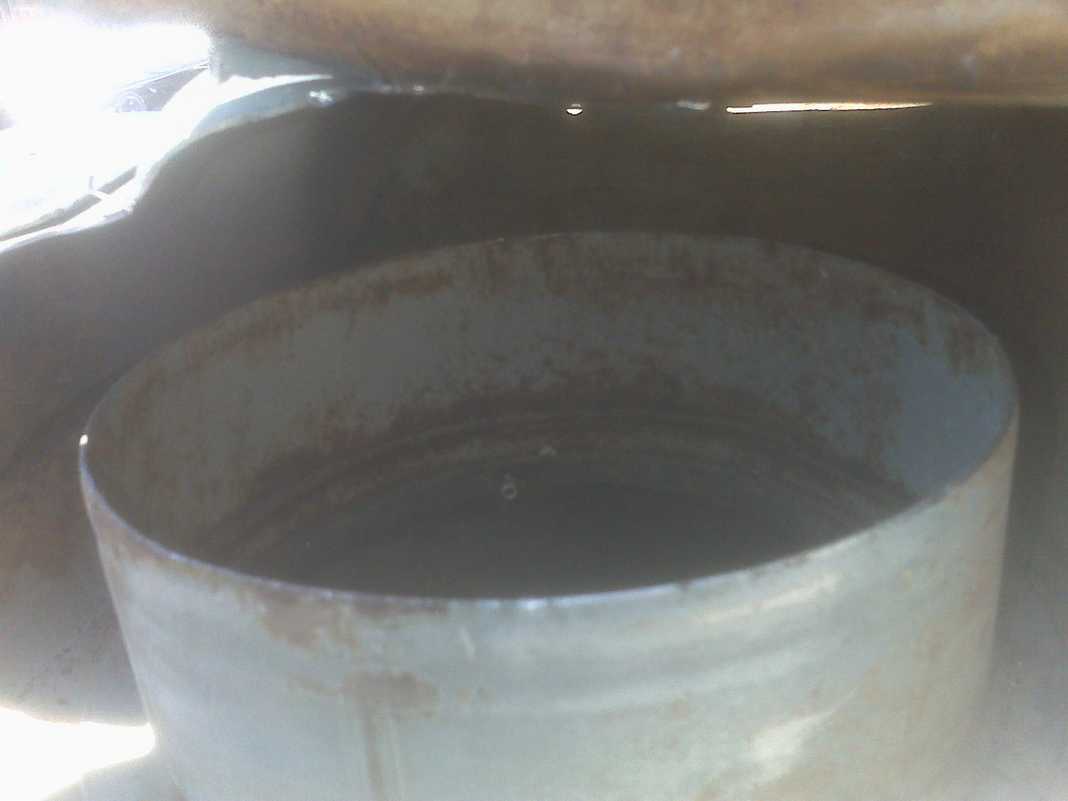
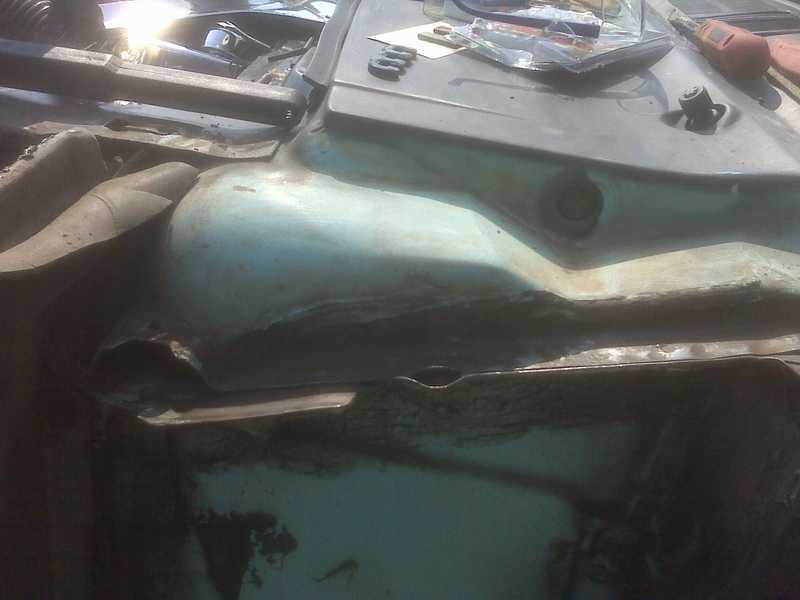
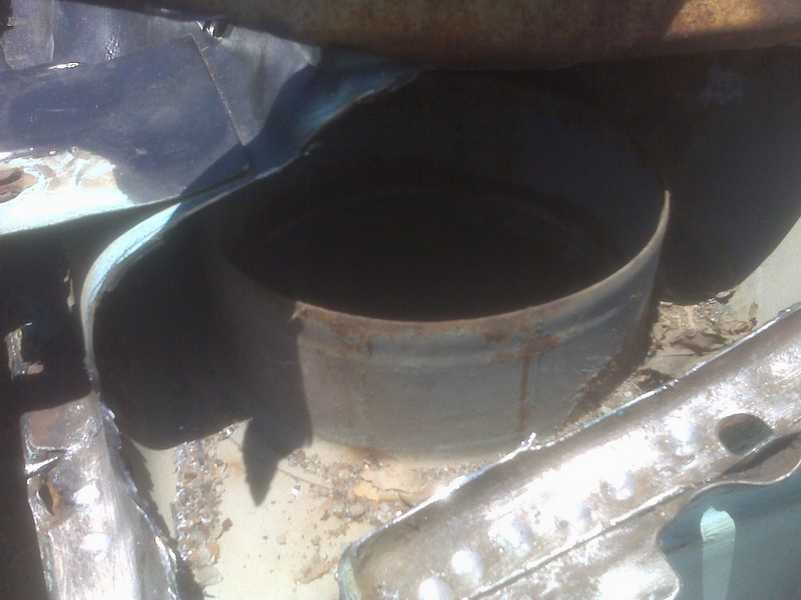
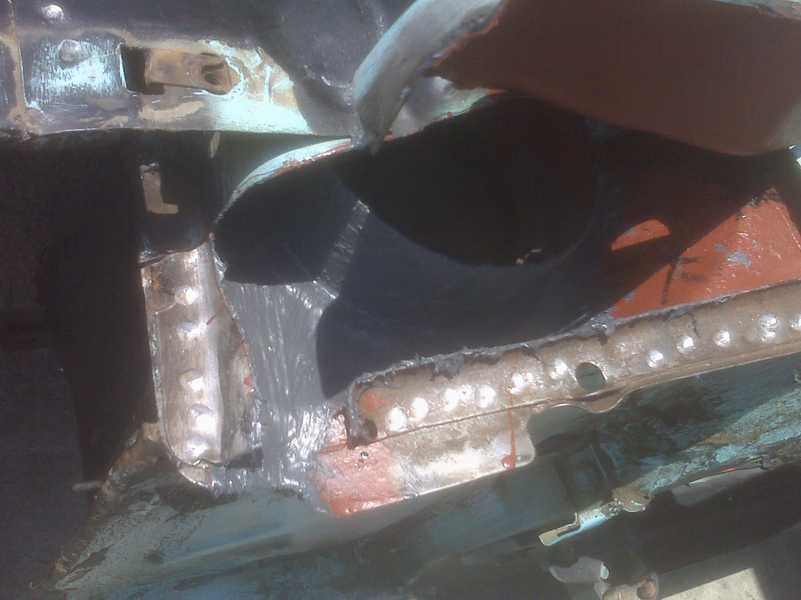
View looking inside of cowl. It is surprising how much room you have to work. Sanded the surface and wiped it down

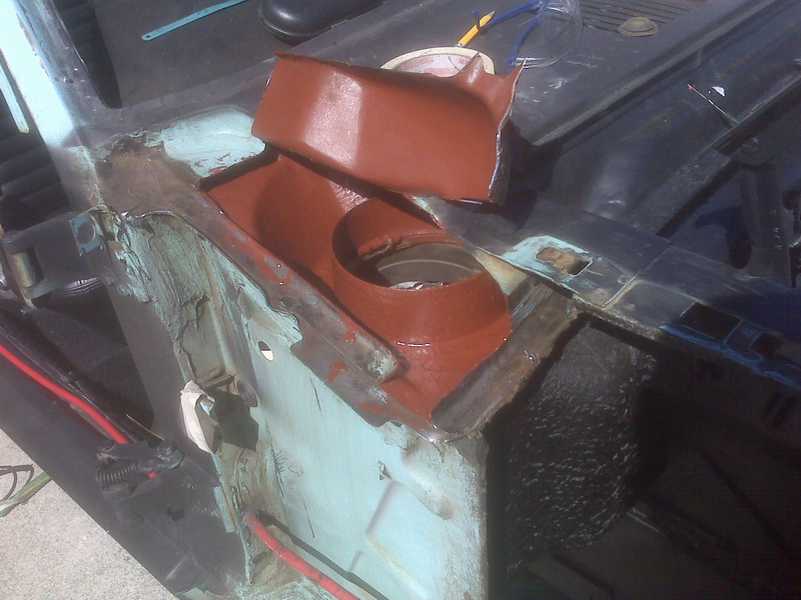
Painted inside of the tophat also
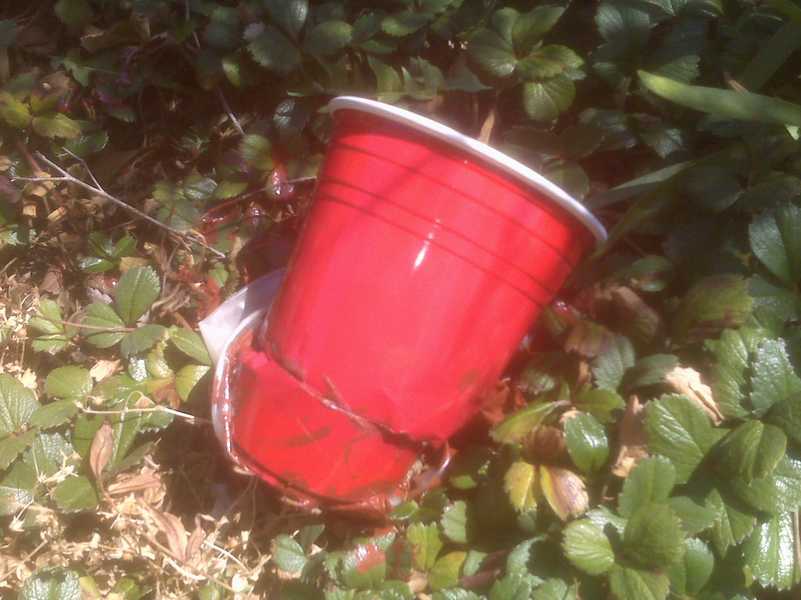
Do not use plastic cup with Rust Encapsilator. It melted the cup in 3 minutes!
The last step was to coat the entire area with Eastwood Brushable Seam Seal. This provides an extra layer to keep water
from getting into any metal seams. It was also applied to the inside of the tophats.
|
|
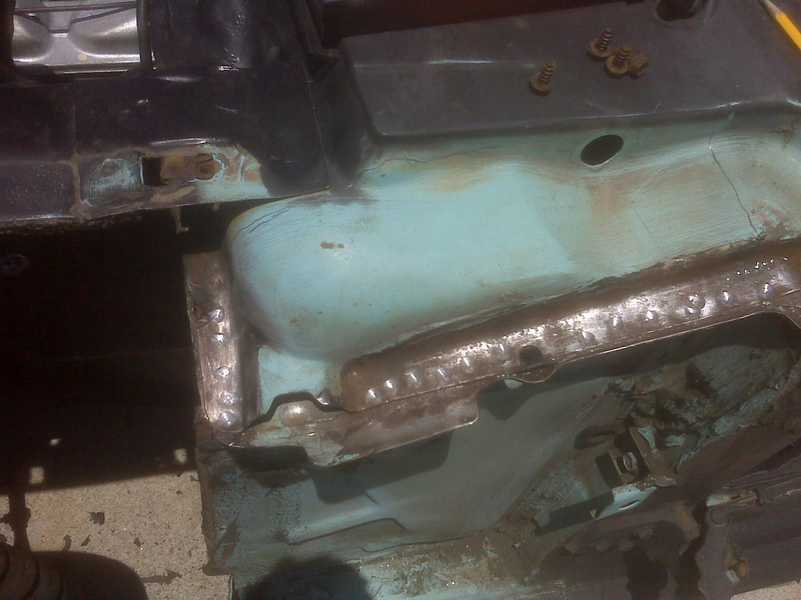
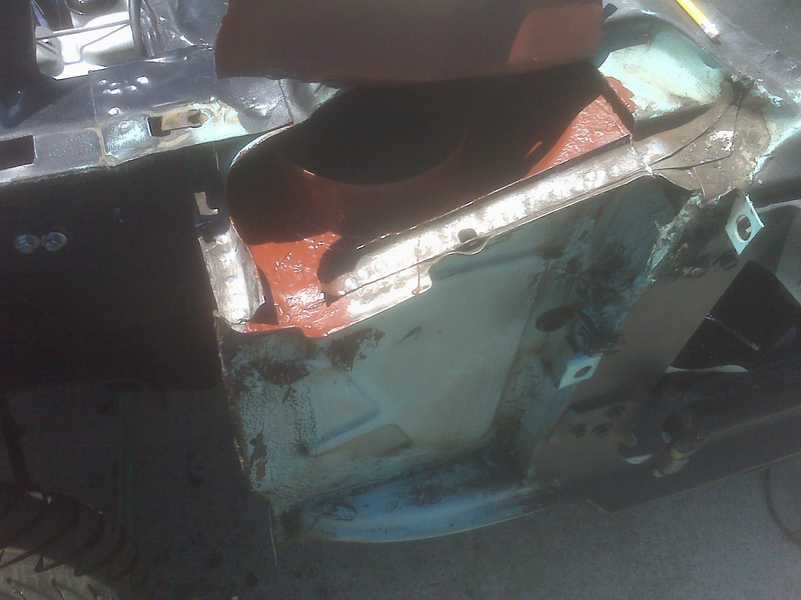
The cuts were done with a 4 1/2 angle grinder and
a 1/16 inch thick cutting wheel. To finish some cuts, a hacksaw blade was used.
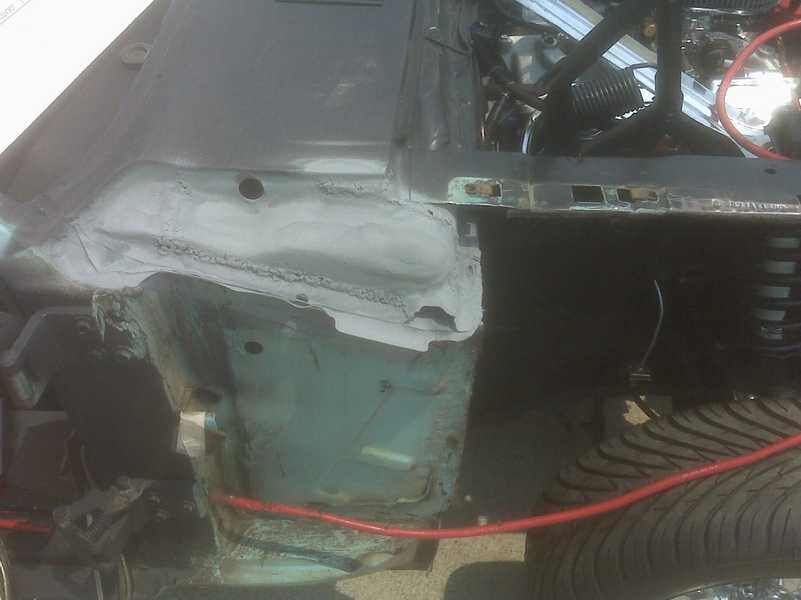
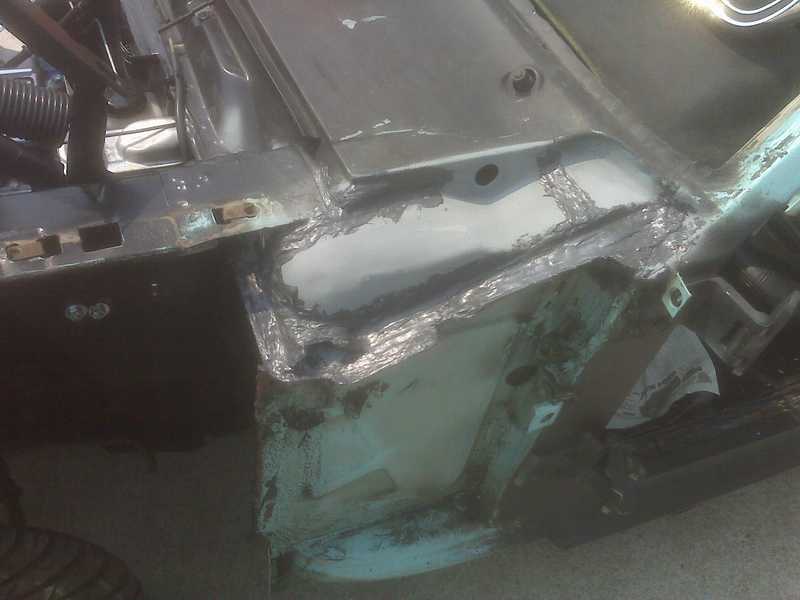
After coatings were applied, we MIG welded the cuts
back together, ground down the welds. We then applied paint and seam seal on top of the welds. The area is
covered by the fenders so it will not be seen.
It took 1 weekend to complete.
If the 66 had needed new top hats installed, we were
going to extend the cuts into the center of the car and follow the procedure from this link:
Luckily, we did not have to!!!
|


