|
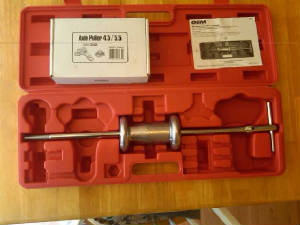
AutoZone Loan A Tool slide hammer.
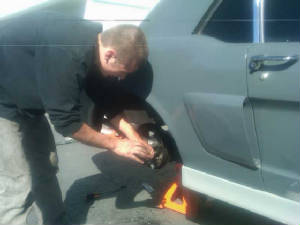
How I got out the old axle seal.
It was later pointed out to me
the easiest way to get the seal out
was to use the end of the axle as a
pry bar to pop it out.
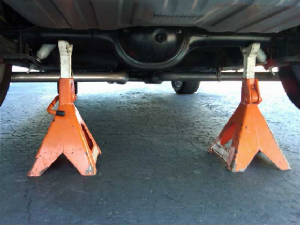
Properly suppport the car before you
crawl under it.
Safety First!
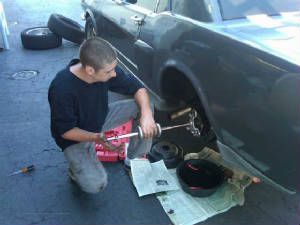
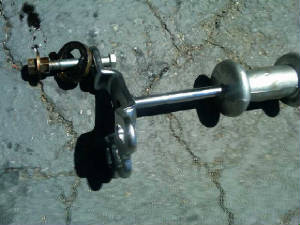
Slide hammer removing the axle.
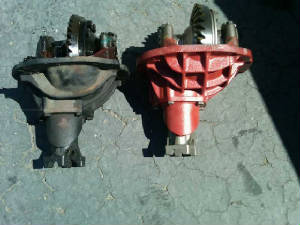
Axles before the machine shop
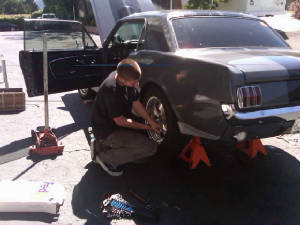
Going back together and rebuilding rear brakes
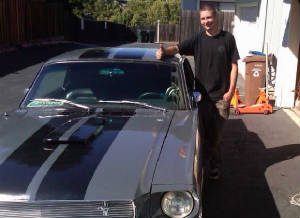
The look that says it all after the first drive
 |
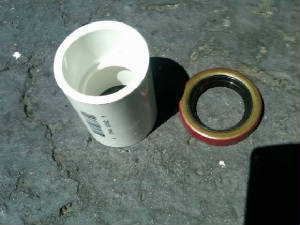
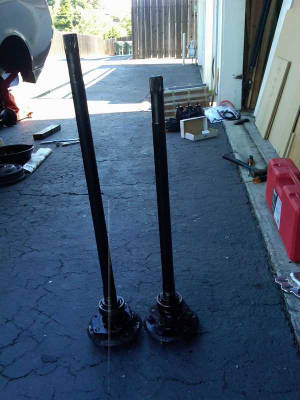
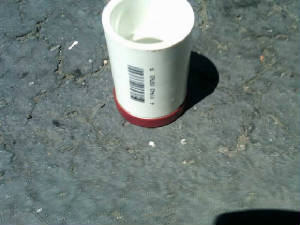
1 1/4 inch PVC coupling works perfect for
setting the new seal in the axle tube.
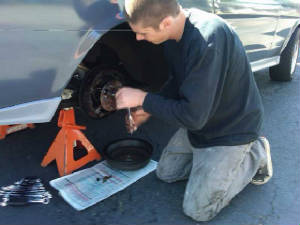
Remove the 4 bolts holding the axle in.
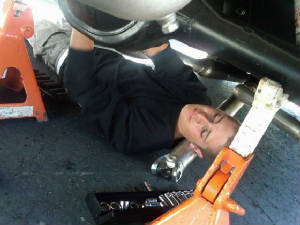
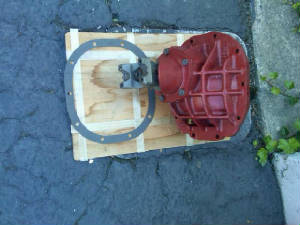
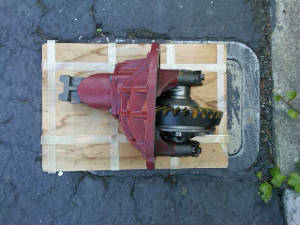
Removing the 10 bolts holding in the pumpkin.
Support it with a floor jack and it should break
loose with a blows from a hammer.
Axles after the machine shop.
Pressed new bearings on after
they bead blasted and cleaned them.
|
|
Break in procedure:
1) Do not use synthetic oil with a torque sensing differential.
Be sure to add a friction modifier to the oil.
2) If you have new gears, then run the car in drive on jackstands
for 15 minutes and let it cool for 1 hour. Repeat. The heat up/cool down procedure is for the gears, not the limited slip.
3)
If you have new gears, take it easy for the first 150 miles. For extended life change out the oil after the 150 mile break
in.
4) Do a few figure 8's or circles in both directions to get oil to all the clutches.
|


